

To put it simply…


Step 1 - Choose Beautiful light fittings
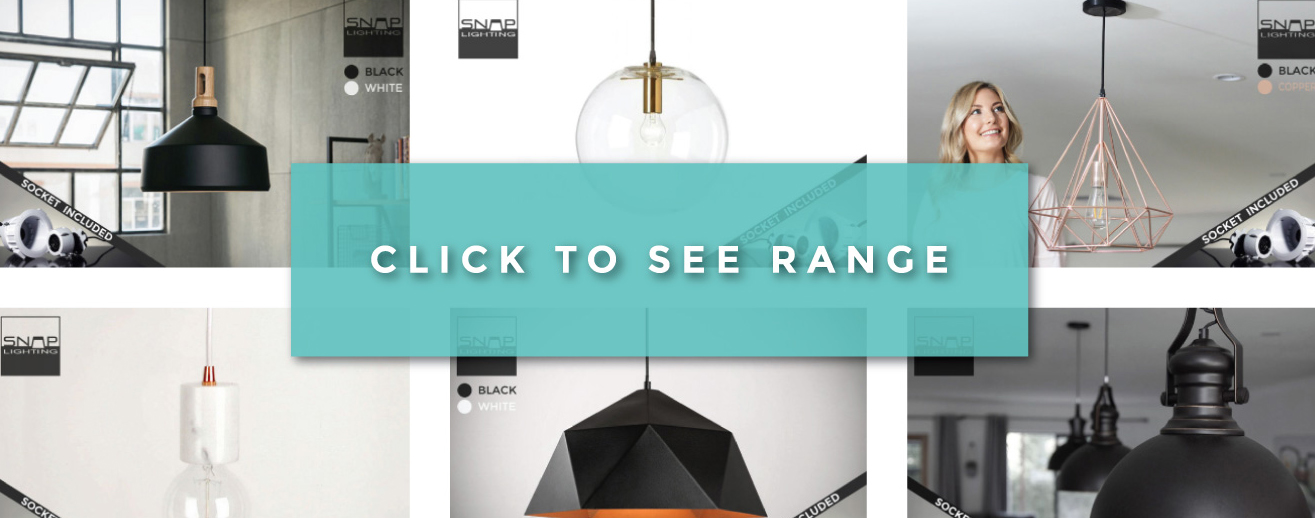
Choose stunning pendants from our extensive range
Or convert almost any pendant using our ‘Unlimited Pendants’ program or our pendant conversion kits!
Our Universal Sockets are included FREE! ($39 value each) - no need to buy them separately
Step 2 - (FREE!) DIY Universal Socket install

Universal Sockets provided FREE with all our pendants
Easy DIY replacement of your plug-in downlights!
Or an electrician can install just like a normal downlight
Step 3 - snap in New fittings (And watch your Home Instantly Transform)
Simply push in and push out to change styles in seconds - single handedly!
Even adjust pendant height and rotation without tools
Absolutely love your lights, or money back! 30 day guarantee - 100% refund
“Will Snap Lighting work for me?”

✔ Do you have plug-in style downlights you want replaced with gorgeous pendant lights?
This is not essential - If you don't have plug-in style downlights it just means an electrician will need to install the Snap Lighting Universal Sockets.

✔ Do your downlights have standard 90mm plaster cut-outs?
This is also not essential. 70mm cut-outs can be widened, or new holes can be cut. If you're not sure what yours are, downlights with a 90mm cut-out are usually 110-120mm diameter inside the room.

✔ Do you have at least 100mm of vertical space inside the plaster?
There is usually more than enough room in standard homes with plaster ceilings and normal roof cavities. But best to check - especially if the ceiling is angled, or in an apartment.
Whether you're a homeowner, Home Seller, renter, anything!
Snap Lighting is for you!


You may have heard of DIY plug-in downlights
They come with a plug and cable just like an appliance you plug into your wall socket, but the difference is they get plugged into sockets in your ceiling space.
How about plug-in DIY pendant LIGHTS?
Plug-in pendant lights are hard to find, but they can be useful for certain spaces. Plug-in pendant lights typically come with a very long cable that you plug into the wall, then with hooks, brackets and other things you string them up the wall and onto the ceiling. This could look cool over a reading chair, and in certain spaces, but could you see this working for kitchen hanging lights? Over the kitchen bench? How about in a bathroom? Probably not.
The Melbourne designed Snap Lighting plug in pendant light system combines the best of plug-in downlights and plug-in pendant lights into the one product. The Snap Lighting Universal Socket installs just like a plug-in downlight. It comes with a cable and 3-pin plug and it simply plugs into outlets in your ceiling. Once the Universal Socket is installed, you can simply push in any downlight or pendant light from our range of pendant lighting! It can’t get any easier than that. No messy cables around the place, it just looks like a normal pendant light or downlight you can install yourself in about 5 seconds.
Another feature that makes the Snap Lighting innovation stand apart from the rest is -
Yes you can adjust pendant light length.
The Snap Lighting pendant connector has a cable spool built in. Simply wind the pendant cable around the spool until you get the desired pendant length, and push into the Snap Lighting Universal Socket. No tools needed, no electricians needed, and no messy cables around the place.
Typically with hard-wired pendants there is a screw in the canopy (ceiling cover) that holds the cable. While up a ladder, you can loosen it with a screwdriver, then try to push or pull the cable through the hole to adjust the pendant light length. It can be very tricky if the cable is flexible and hard to push through. It can also get caught on things in the ceiling space you can’t see. You can climb into your ceiling space to move it more easily- but that is unsafe, dirty, and generally unpleasant!
If that doesn't work, or the canopy design doesn’t allow for length adjustment, your only remaining option is to coil the cable and tie it with something like cable-ties. It’s a messy look and even if done neatly it’s not appealing.
So the best way to adjust pendant light length is to install the Melbourne lighting innovation - Snap Lighting.
With Snap Lighting, you don’t need any tools or cable ties at all. And you certainly don’t need to climb into your dirty, dangerous, ceiling space. You simply push-out your fitting from the Snap Lighting Universal Socket, coil or uncoil to adjust the pendant light length, then push back into the Snap Lighting socket. Done! So quick and easy!
NEVER REGRET A LIGHTING CHOICE AGAIN - MAKE A SNAP DECISION
